(05.07.2017)
Build your own greenhouse

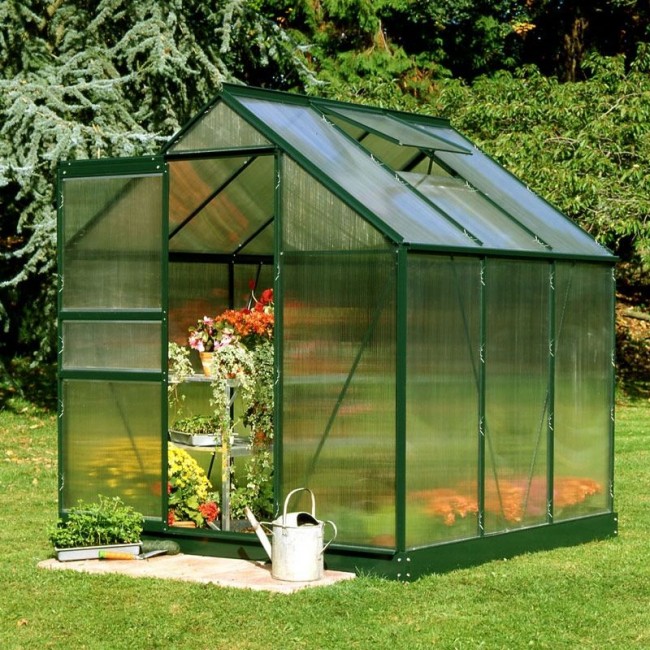
I just finished building my first greenhouse, a gorgeous little number from ClimaPod (Clear Pro). At roughly 8’3 wide and 12’1 deep, it's the perfect size for growing tomatoes and peppers on one side, and working at my homemade, salvaged-cedar bench on the other side. I'm already in love with my greenhouse, and I haven't even eaten my first tomato yet!
While assembling my latest obsession, I thought of several tips you might like to hear if you're about to embark on a similar project. Some of the tips are specific to the ClimaPod product line (Buy ClimaPod Greenhouse Kit); I'll try to write those in a more general way. Here we go:
Make sure your foundation is level and square. No matter what material you use for your base, it must be perfectly level and square. Don't rush this step, because you'll pay for it later. If you're using landscape timbers for your foundation, anything that's тАЬoffтАЭ with that first course of timbers will telegraphтАФand intensifyтАФas you lay in your subsequent courses. Then, when you go to assemble your precisely engineered greenhouse components, they won't align properly.
Proceed methodically. Study the instructions carefully. Take your time and make sure you're clear on which steps to takeтАФand in what order. You won't finish this project in a day; you're assembling a small building, after all. Open one box at a time. If you open all the boxes at once and start mixing up the hardware, you'll be dreaming up new swear words in record time!
Get someone to help you. I had my best friend Philip there to ponder the instructions and hand me the pieces I needed to bolt together. That second person is also handy when you're trying to hold steady a 9-foot-long sidewall section while you connect it to an end wall section. And don't even get me started on the ridge pole or the wall/roof-panel installation!
Don't overtighten the nuts. Some greenhouse kits use aluminum bolts, which can strip if you crank on the nuts too hard.
Use WD-40 on screws. Some instructions will suggest that you dip certain screws into soapy water to lubricate them before driving them into a metal channel. I say, cut to the chase and use a higher-powered lubricant like WD-40. You'll be glad you did. (Besides, you'll just spill the soapy water on your best friend's foot anyway.)
Mark your panels as you peel. The Juliana polycarbonate panels for the walls and roof have peel-off plastic film on them for protection. One is tinted blue to indicate that side of the panel has a coating on it that helps to repel UV rays and should face out when installed. I got in the habit of peeling back a corner of that blue film and marking a small тАЬOтАЭ on that side of the panel with a black Sharpie pen before peeling off the rest of the film. That way, if I was interrupted or accidentally flipped the panel around, I'd know which side was which.
Identify the exceptions. With my Juliana greenhouse, for example, the frame was assembled and then the roof and wall polycarbonate panels were installed. The window and door poly panels, however, were enclosed as their frameworks were assembled.
Clamp in your window openers. Planning to include VentaMax automatic window openers? Install them by clamping them in placeтАФnot drilling them.
Until next month, keep your hands dirty!
| | |